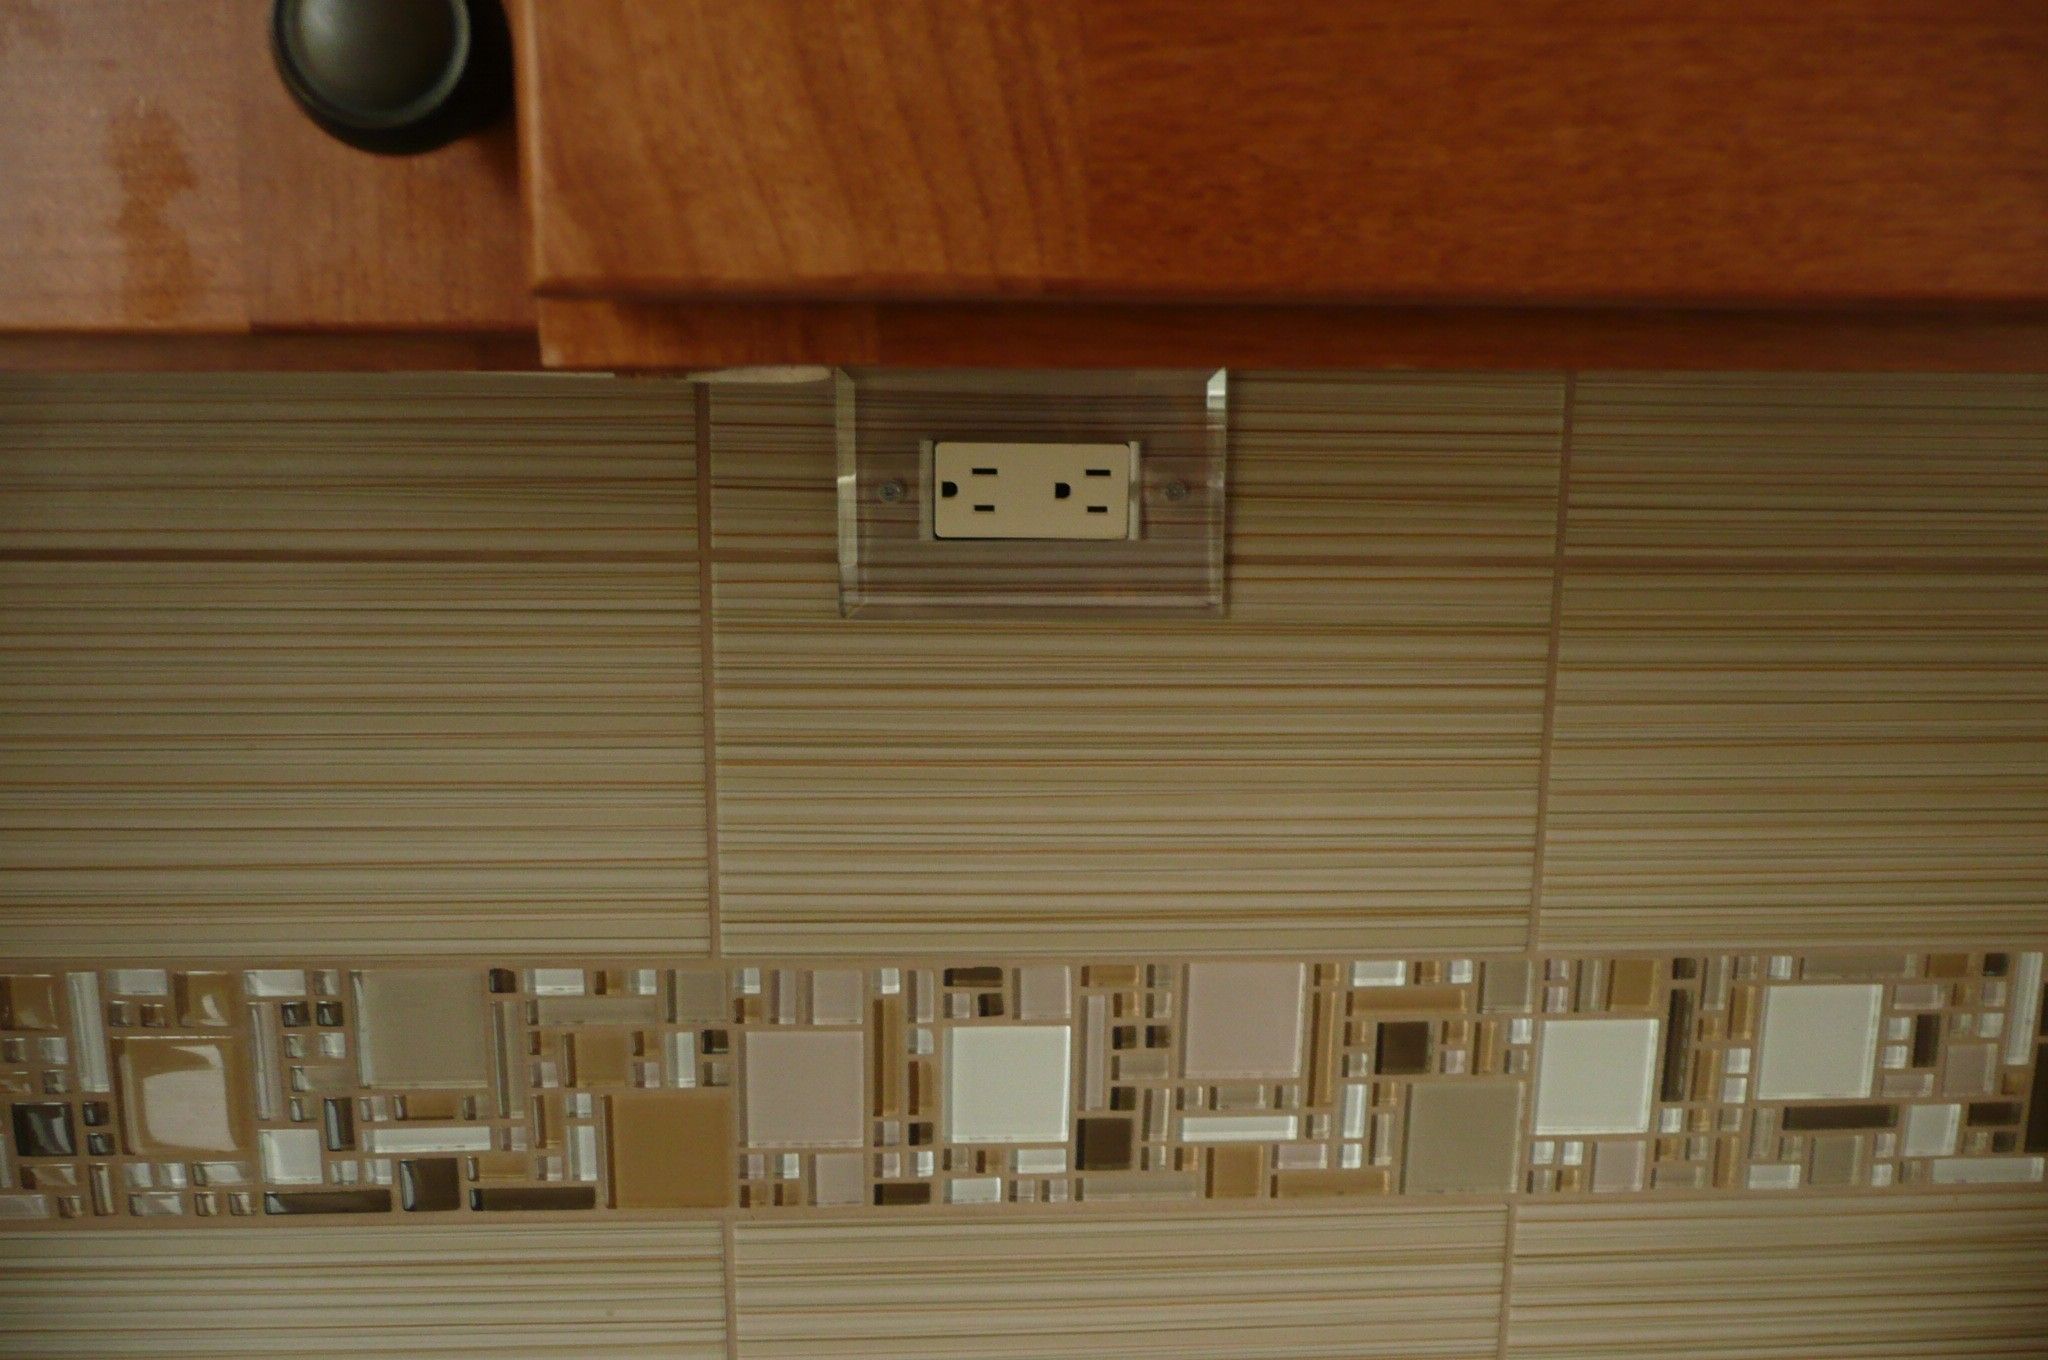
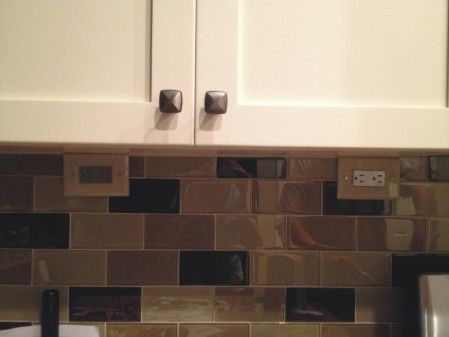
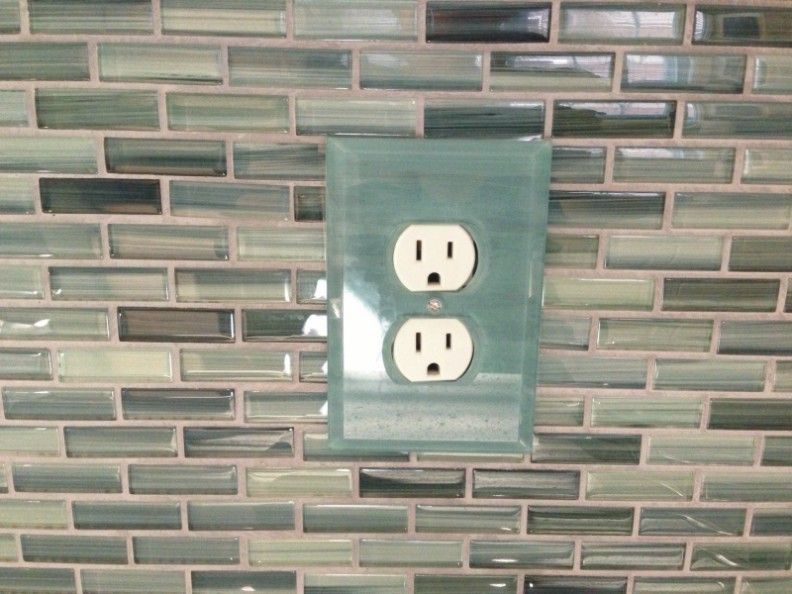
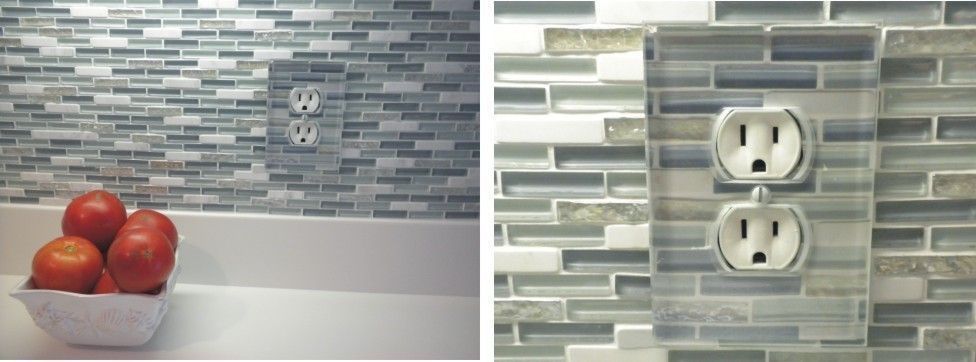
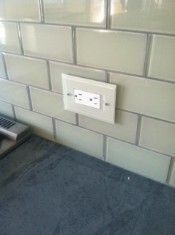
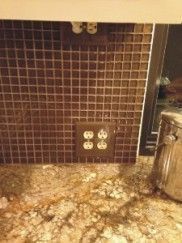
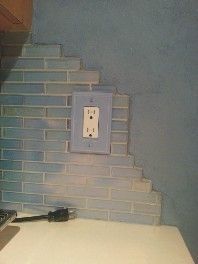
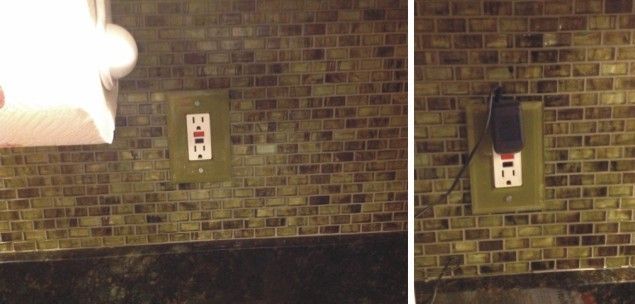
![]() Glass Switch Plates Photo Gallery. All of these images are from our customers!
Glass Switch Plates Photo Gallery. All of these images are from our customers!
Call Arnev Products, Inc. 800-260-1181 to order, and send your glass switch plate images to arnie.evans@gmail.com
Pull this page down to see our customers' Photo Gallery, and read how they decorated them.
Buy our clear glass switch plates HERE
________________________________________
From Nora Lockshin
The glass plates all worked out very nicely. I decided to paint & trim out my own papers with a shimmery silvery spray paint to hide the works rather than paint the glass. I love the way the bevel makes the transition.
From Sheri Holik
She said she loves the Paintable Clear Glass Switchplates she purchased.
-------____________________________________________________________________________________________
These designs were cross-stitched by my mother-in-law over 20 years ago. Thank you again for your great customer service. Karen put our clear low-iron glass switch plates in front of the designs, and they look great.
Karen Lowdon
 _______________________
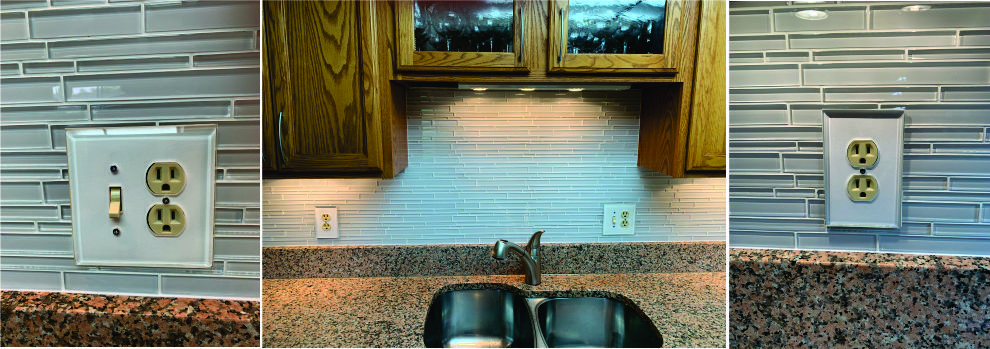
Images from Jane Higgins of Dayton Ohio
What a great-looking backsplash using our Clear Glass Low Iron Switch Plates along with our new Screwgard Gaskets and Color Templates.
Nice job Jane!
___________________________________________-
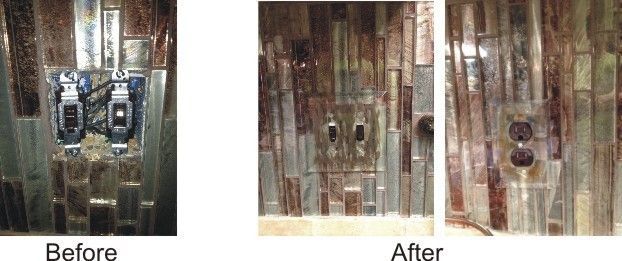
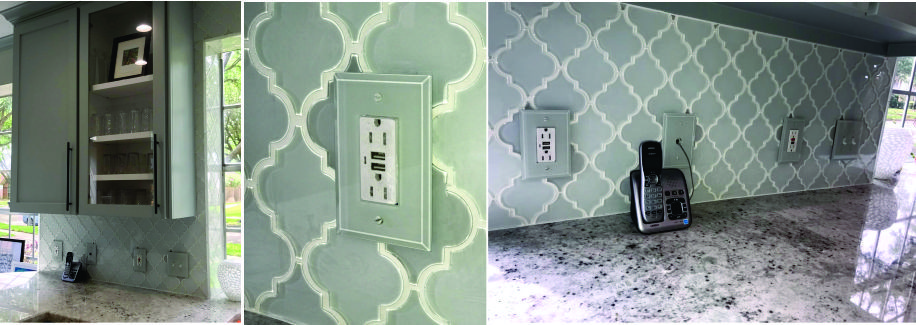
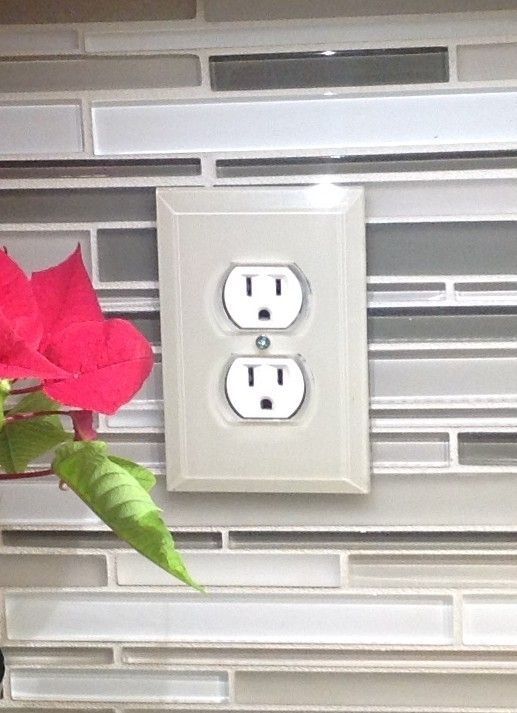
The glass switch plates are the perfect touch to the glass tile. I can’t believe how perfectly the color matches. (Pictures attached!)
Thank you again for your incredible customer service. Our next project is the bathroom so you will be hearing from me shortly!!
Thank you again!
One very very very satisfied customer,
Lori Schwartz
Hi there.
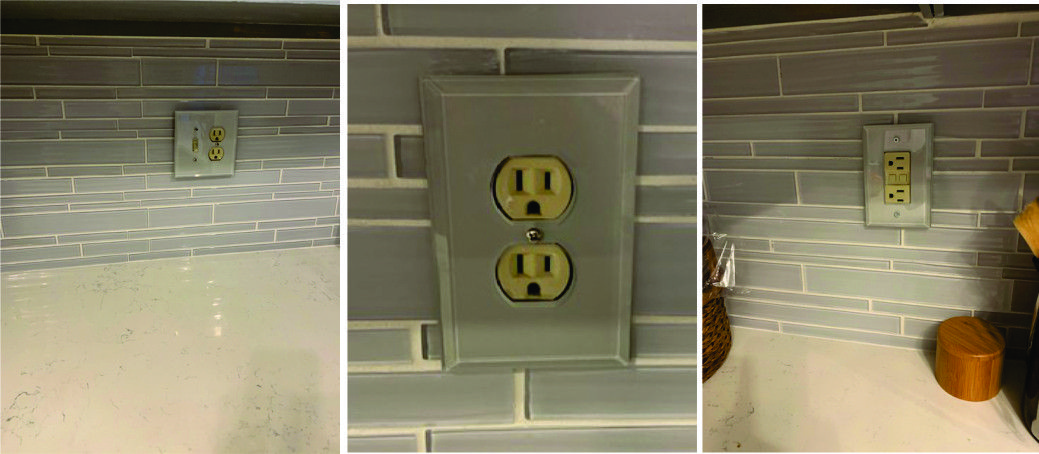
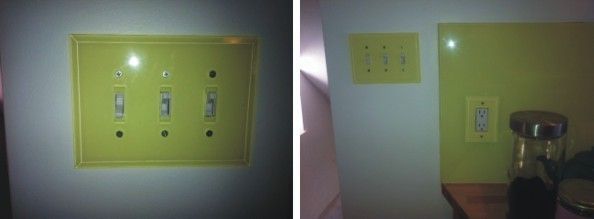
I used your clear glass cover plates on a recent project. I bought a sheet of low-iron glass, cut it to size, and back-painted it with a color called "Balboa Mist."
I back-painted the cover plates as well and they matched perfectly. I've attached a photo. Thanks!

Lise Bellmar
Englewood, Colorado
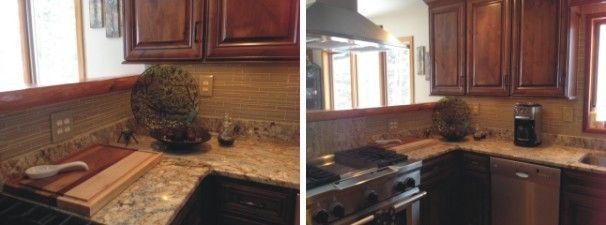
I wanted to send these along and thank you so much for the joy of finding your website with your fabulous products.
We remodeled our entire 1st floor on the first of this year.
I love the backsplash and wanted something different than the typical switch plates and outlet covers to kick it up a notch.
I googled and found you - with photos, to help me see what I might be able to do in my house.
I have to say, that matching grays is a little tedious, and although I don't get an exact match to the surrounding tile - I think ALL of these look fabulous.
I also ended up painting the screws with the same color and think that is a nice added step to make the painted plates look so pretty.
We just did our upstairs guest bath last month, and again, I wanted glass switch plates. Different tile this time - so matching grays again. I've labeled the photos.
Thank you so much for your fabulous customer service, the timely arrival of all my orders, and the joy of having something look so pretty in our 'new' home.
Just LOVE this and point them out every time we show off our home.

From Natasha Riley
We think it looks great!
Below are some of the John Derian Collection at this website here
This was from Myra:
I have blue smoke glass tiles and wanted to avoid the look of the plastic switch and outlet plates. I used your company's beveled glass plates and back-painted them with "white-out" correction fluid to mimic grout lines, then painted them with Behr "Nature Retreat" paint to match the tile color. It looks even better in person.
I love them. God bless, Myra
From Diane:
We love our glass outlet plate covers. The covers inspired our design. I did not like the way most plate covers stuck out like a sore thumb. We love the way we were able to hide ours in the design, after all, we wanted the glass tiles to be the focal point, not the electrical outlets! So keep that in mind when you look at the pictures, it is hard to see all 4 of our outlets! I get compliments from everyone who sees them, thank you so much for helping us achieve the design we wanted. I loved them so much that I mentioned them on my card-making blog too! We will be back again soon for more! Thanks, the post where I mentioned
Best. Diane
From: Sherry Blevins, Charlotte, North Carolina
My new glass tiles were so beautiful that I couldn't bear the thought of putting that cheap plastic outlet covers back on.
After a thorough online search, I found these awesome glass covers. After a trip to the hardware store, I was able to match the color of the tiles, so I painted the backs with a roller. All that I had to pay for was the roller and the paint sample which was only a few dollars. I thought I would have to spray paint, but the roller worked just fine. The look is high-end and has received many compliments from guests. A word of caution though, the camera that they typically use to match paint colors wouldn't work on glass because of the flash, so I had to eyeball it. Luckily, it worked out great! Thank you Arnev for the great product!
From Andy Burke:
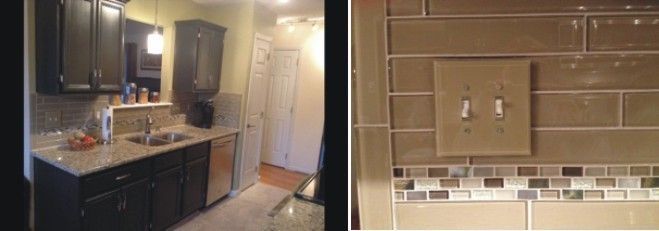
I have glass tile in the kitchen and was wondering what type of switch plates and outlet covers to buy. The colors are unusual so I was so happy to find your glass switch plates online. I painted them to blend in with the tile and they look great.

A beveled glass switch plate!! Swoon. It just adds to the glamour of this little room. And I think it was worth the $11 price tag!
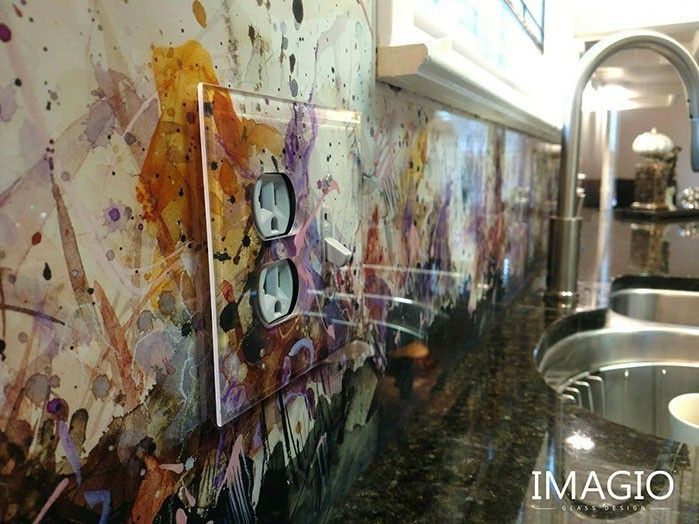
Check out one of our customers who manufacture Back-Painted glass backsplashes
You must read how these were created by Kathy Spinella:
I am very pleased with the clear beveled glass switch plate covers that I purchased for my kitchen. Both the quality and customer service were excellent. I have a glass backsplash and wanted my switches and plugs to blend in with the glass. I took a photo of my backsplash to scale and used it beneath the switch plate. Tip: laminate the photo if it is near the sink to prevent the photo from bleeding in case it gets wet.
Thank you, Kathy Spinella

From: Judy Bunch, Charlottesville, VA
In our Asian-inspired kitchen, we used Japanese Chiyogami paper. Your glass switch plates were the perfect solution for us as we could not find anything off the shelf that we liked for our new kitchen. We bought the switch plates before we figured out what we were going to do with them
and tried several ideas before finally deciding on the Chiyogami paper.
From: Judy Averitte
From: Pam Engel, Great Falls, Virginia
(but originally from Wisconsin!)
My backsplash tiles are Italian crackled glass tiles. My goal in finding the right cover plates was to be able
to duplicate the color of the tile and the crackle finish. The Arnev product provided the perfect solution!
I applied a crackle glaze to the back of the cover plates and then paint them. that matched the color of the tile. When they dried,
it was as if they had been custom-made for my kitchen.
The glass makes the switch plates shine like tiles. The color is perfect since it was customized.
And because the switch plate face is glass, they are very easy to keep clean. Take a look yourself.
Many visitors have asked about where to get them and have been happy to direct those that have inquired to Arnev.
Yours truly...a very satisfied customer,
From: Jeanette Damato, New York:
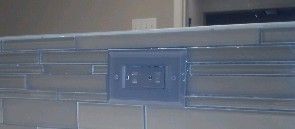
I ordered your glass switch plates for the glass backsplash in my new kitchen. I found the closest color match, painted the back, and the result is a seamless look. I couldn't picture a better solution!
From: Theresa King and she said:
I painted mine to match my glass tile.
From: Tara A. Waits, CAPS
Design and Project Coordinator
Cell 253.241.9809
tara@phaseii.net
They are in the backsplash - we back-painted it with a coordinating color from the glass tile.
Here are a couple of pictures of my project. My backsplash is a 5/8 inch glass. Like some of your other examples, I took pictures and scaled them to size. Because the color was hard to get exact, the final product makes the Arnev glass covers appear to be milky.
Overall, a great look. Thanks,
Joe Finley
Langhorne, Pa.
From: Brian Cartel of Castle Glass LLC, Omaha, NE
The glass switch plates are used with our custom color backsplash glass.
From: Ron Sumners, Melbourne Florida. I back-painted the plate to match the backsplash tile.
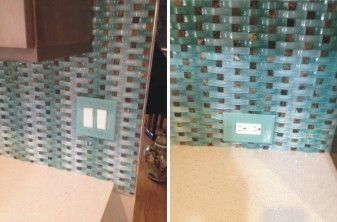
The plates worked out perfectly for us! I was able to match the paint to our backsplash tile perfectly. We get many positive comments about it. Thanks!
Shelley from Charlotte, NC
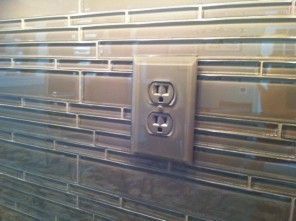
From: Clint Hopkins at Lucid Glass Studio. Attached is an example of where we used your plates.
From: Cathy Zion.
The painted switch plates matched great with our glass tile backsplash. I gave our tile store your website address. Thanks!
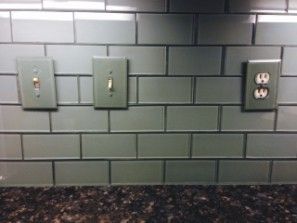
From: Suzanne Miceli, Carrollton, Georgia
Kitchen: matched switch plate by painting a piece of poster board to match glass taupe subway tiles and placing it behind the plate.
Looks perfect and blends seamlessly. Thanks!
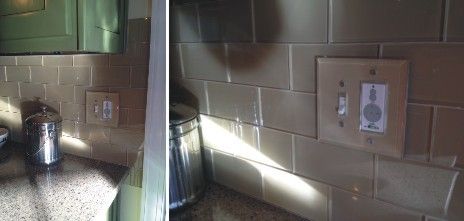
From: Sonja Pinero
From: Lori Haug
From Anabela Vendas:
Here are three pictures of the clear glass switch plates I purchased from you.
I spray-painted the back in a coordinating color to enhance the tiled backsplash.
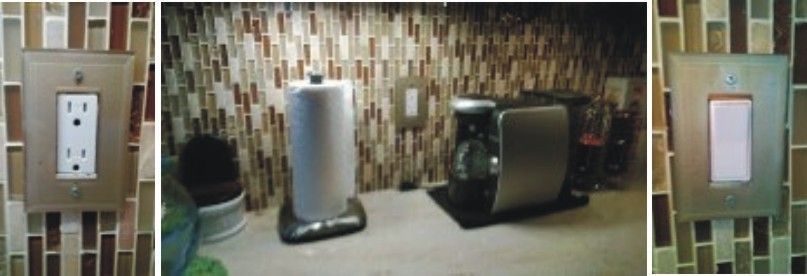
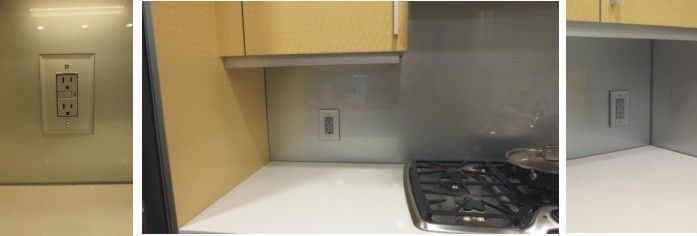
Attached are pictures of our switch plates. Jerry Kinneman at Heavy Lux back-painted the glass with metallic aluminum-colored paint. Then he back-painted the switch plates to match. (I was not going to allow "matching" plastic switch plate covers as was suggested, so when I found your covers I was thrilled.) Thank you again for this wonderful product.
Karee Weber
From Terry Barrow
We have a room in our home we have decorated as a cartoon room. We have drawn and painted cartoons on the wall. We used the glass outlet plates by placing cartoons from the paper behind them. We laminated the paper and cut it to size. Here is one example.
.jpg)
From Bianca Conti in Baltimore, MD. The glass plates were easily matched at a local paint store with the
tile and easily installed by my contractor Winner Construction. Great product!

From Judy Collins of Dallas Texas
My title company put the tile all the up to the receptacle and not just the box in the wall...Good job!
From Elizabeth Mangum
from Janet Hoover in California and she said: I painted the back to match the tile as I wanted covers to blend rather than stand out.
From: Mary Hammond, and she said: I painted a gold stencil on the back and mounted it with a white paper backing.
Looks great!
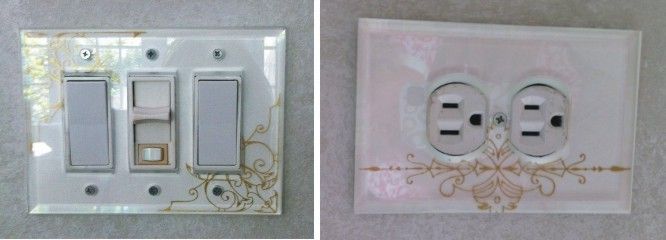
From: Kelly Martin, Buffalo, NY
Jo Ann Piazza Naples, Florida She said:
Here is the finished product using your clear glass switch plates. However, my tile company went out of its way to put the tile all the up to the receptacle and not just the standard method of up to the box in the wall to make this a perfect look.
Sandi Elwell from Illinois said:
I painted the back of all the outlet covers with black spray paint for glass so they would blend in with my black glass backsplash. Sandi Elwell, Illinois

Lucy Pellegrino of Massapequa, NY.
These worked out great. I had a sample-size container of paint custom mixed at Home Depot to match my glass tile. I painted the back of the glass plates with a few light coats of paint. I like how they turned out.
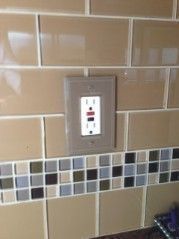
Dana Brewer. Tuscaloosa, Al.
Love your products!! Beautiful! I am so glad I found your website when looking for these switch plates. My husband painted them and I think it is a perfect match for my backsplash.
From: The Outer Banks of North Carolina. Designers: Albemarle Contractors, Inc. P.O. Box 14 Kitty Hawk, NC 27949
From:
Donna Wakeley
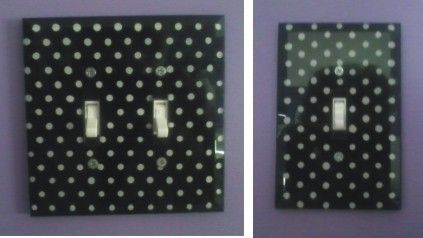
She said: Attached are two photos of switch plates that I did for my Granddaughter's bedroom.
She is three and loves purple, princesses, and Minnie Mouse. My daughter purchased a Minnie Mouse bed linen set that had a bed skirt that was black with white polka dots. I converted the bed skirt to window valences and then painted the switchplates to match.
I laid the polka dot material down on my table, face up. Then I positioned the glass switchplate on top of the material, face down. I then used white acrylic paint and a small, round paintbrush to match the white polka dots. (It was quite easy to see them clearly through the glass plate). I waited 30 minutes then painted the entire back surface of the plate with black acrylic paint. After about an hour, I sprayed the back of the plate with a clear coat of acrylic paint to set everything.
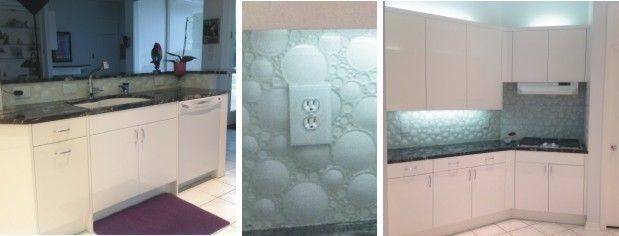
Images from: Carol Sobol of Dallas, Texas
I painted the switches by mixing white and a bit of grey. The backsplash is glass bubble tiles with grout made with white crystal crushed glass. Thank you for asking me to share. Hope you like it!
From: Diane Fiveash of San Angelo, Texas
She said: I painted the glass with metallic-colored nail polish that matched the colors in the glass tile. I wanted the colors to look muted so I used non-acetone polish remover and a paintbrush to thin the polish down.
From: Sandra Teach
She said: The glass plates are great, now you need to invent one that will protect the socket, but still be able to tile over! Thanks, Sandi
Leslie Glick - California
Hi Lee,
I've decided thus far to leave the glass unpainted. I like the subtle sense of the behind-the-scenes look. In the future, I might add further camouflage. (: I like the backplates and stainless front labels. Good luck with the millions of photos you're going to receive!
David Maerzke 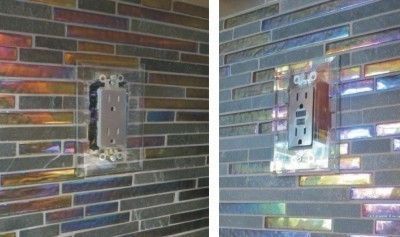
Image from Debra Miller and she wrote:
Who knew that you can have spray paint done to match your backsplash glass? We did this at Sherwin-Williams. I painted the back of the glass plates and you can barely see them.
From: Elizabeth in Florida
From: Laurie Simon and she says they love them
Send us your images to arnie.evans@gmail.com
We would love to see our Clear Beveled Glass Switch Plates in your home.
For years our customers at Arnev Products, Inc. have sent us images of the finished project to show us how great our switch plates, floor boxes, cabinet hardware, and other products worked in their homes or offices. We have now put together a "Photo Gallery" for all our customers to see what and how some of these products were used and perhaps give other customers some new or fresh ideas as to how they could use these products.
We think this is a great idea with our beveled clear glass switch plates. They are simply spectacular with the beautiful glass backsplashes that are very popular for the kitchen or bathroom There are many home shows on TV that are always showing glass backsplashes the construction projects for new or renovated homes, so we are also introducing our clear glass switch plates to these tile companies and contractors to showcase and enhance their tile projects.
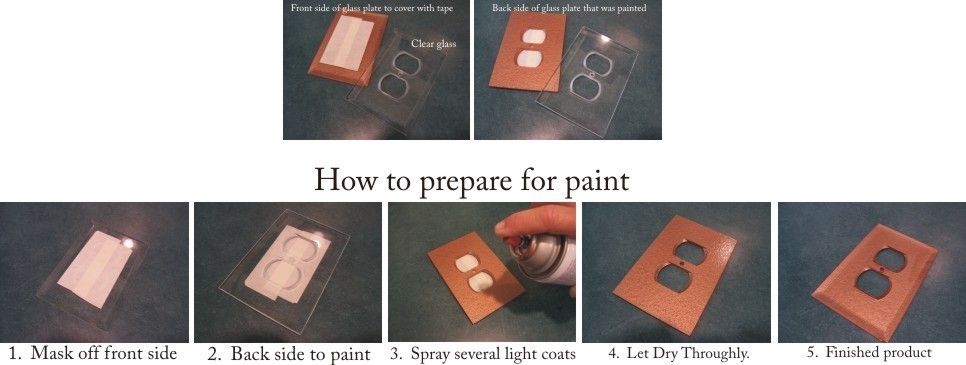
Here are some directions for painting the backsides of these beautifully constructed beveled clear glass switch plates to match your decor.
How to install a glass switchplates without breaking it
So you need to replace the mirrored or clear
glass switchplates on the glass mirror in your bathroom or the glass backsplash or mirrored wall in your home? Well, it should be an easy accomplishment, but it's a bit more difficult than you would imagine to "do it right".
There are a few things to think about, and the first is that clear glass or mirrored glass switch plates are flat on the backside, and not like standard wall plates, which are usually concaved on the backside so the front of the receptacle moves to the front of the switch plates. However, the glass switchplate openings are all beveled so even though the receptacle can not come to the front, it is accessible and looks very natural. But If you think you just need to get out the screwdriver, and away you go, don't hold your breath, but it's not that easy and will need some additional preparation, but it will be well worth it to do it the right way.
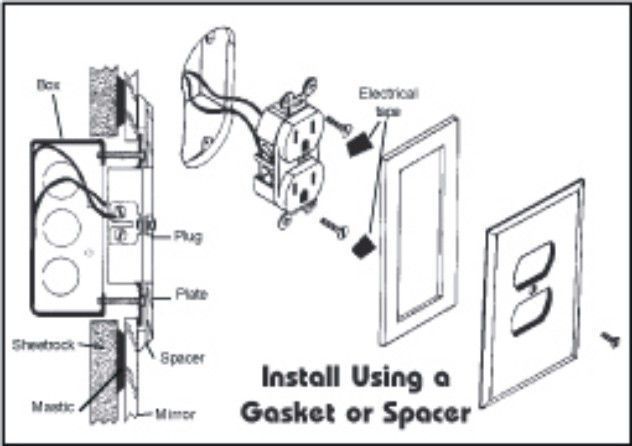
There are two ways to attach this to your receptacles and you will see diagrams of both ways to do this, so choose which one is the best for your situation. In the first figure, we are going to use a duplex receptacle. Some have two screws and some only have one screw, but all the switches and receptacles work with the same method. Please follow these directions and your clear
glass or mirrored glass switchplates installation will be a breeze.
Figure 1 - With the use of an
Acrylic Gasket
Figure 2- With the use of Vinyl Tubing
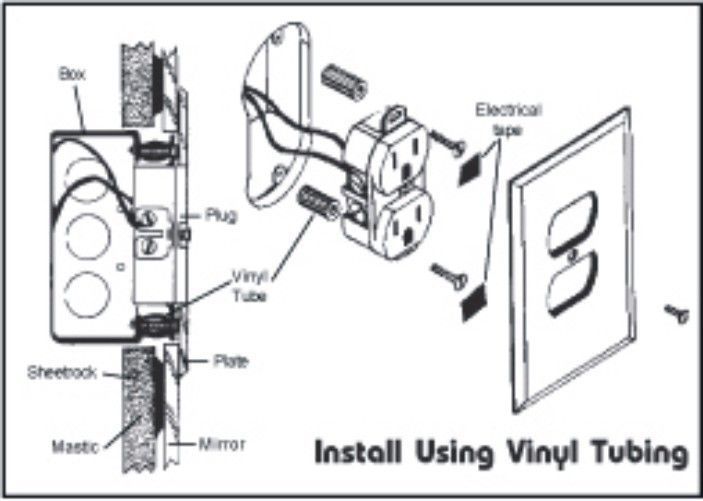
-
Let's start by turning off the electricity to that switch or outlet, removing the existing plate from the wall, and unscrewing the electrical receptacle with the mounting screws. Then carefully pull the receptacle out of the box to give yourself some room to make the following adjustments below in section 2 to section 7, but make sure the power is off to that receptacle before you start pulling it out of the box.
-
Check to make sure that the facing surface of the conduit box fixture in the wall is flush with the wall, and secure that glass plate to the fixture.
-
If the box in the wall is recessed, you must install the screw spacer (Steps 4-7). Otherwise, by tightening the screws, you will pull the glass plate into the box in the wall, and this will cause it to crack or break.
-
Measure the recessed distance from the front wall surface to the conduit box flange.
-
Cut the plastic screw spacer at the measured length and install it on the top and bottom mounting screws behind the flanges of the electrical fixture. (See the illustration above).
-
Now with the spacers attached, then place the electrical fixture back in the conduit box in the wall and affix it to the conduit box. You might want to put a piece of electrical tape over the heads of the conduit box mounting screws, as they could be resting on the backside of the glass switch plate, and might take the reflective paint off the back if they are touching too hard.
-
Hold the glass plate up to the electrical fixture and check to make sure the fixture is fitting flush against to back of the glass switchplate. If it is not, the glass switchplate may bend in and break when you tighten it to the electrical fixture.
-
Remember that the glass switchplate is flat on the back side unlike a normal switch plate which has a concaved back, and the receptacle may not come all the way out to the front of the glass switchplate, and this is normal, as the glass in beveled for easy access to the plug or switch.
-
If the glass switch plate does not bump up against the wall because your box in the wall may be out too far, you may need an inexpensive
acrylic spacer plate that takes up the distance between the wall and the back of the glass switch plate.
-
This may all sound complicated, but it's really not, so take your time and your glass switchplates will look great for years to come.
-
You may also want to choose any of the
mirrored accessories for your project for that special touch.
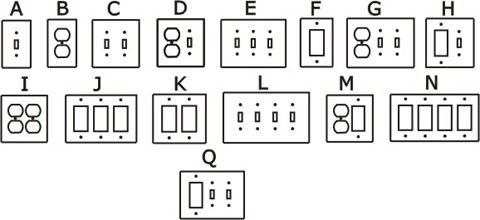
How to install glass switchplates correctly, and you will be a happy customer. Below are the available styles at this time.

 _______________________










.jpg.bmp)






.jpg)


